-
-
-
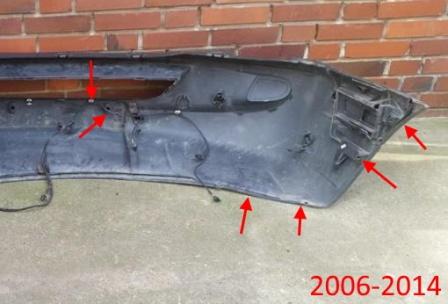
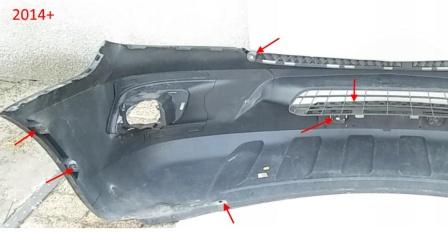
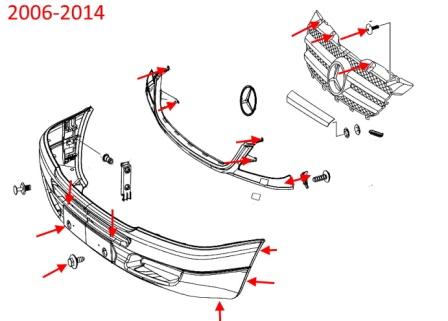
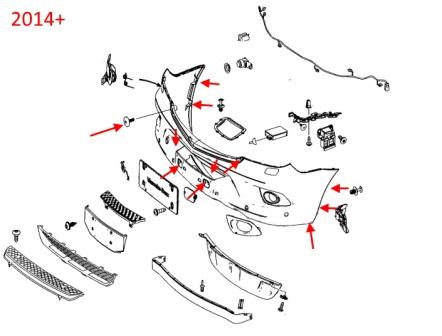
Depending on the model year and body type of attachment may vary.
Front bumper
-open the hood.
-under the hood, Unscrew the four screws and remove the grille.
-under the grille, Unscrew the four (two) screws that attach the top.
-remove the license plate with the frame.
-for the license plate, Unscrew the two screws.
-above the license plate, Unscrew the two screws (spun down).
-take out the caps in the lower part (inserted from the bottom up).
-if you have headlamp washers, remove the nozzle and remove the cap.
-wrenched the wheel to the side.
-in the wheel wells, Unscrew the screws and peel the fender liner (front part).
-(to 2014) vacated the clips in the wings (need to pry with a flat head screwdriver).
-(after 2014) release latch in the wings (pull the corners themselves).
-with the assistant pulls the bumper forward (look for wires).
-release the connectors for fog lamps (easier to remove chocks from light bulbs), turn signals, Parking sensors and temperature sensor (if any).
Rear bumper
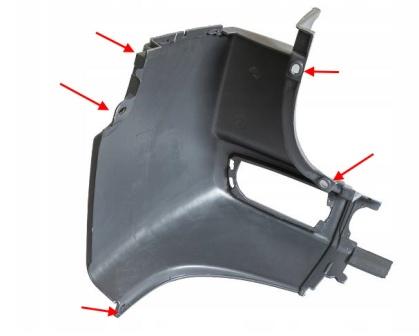
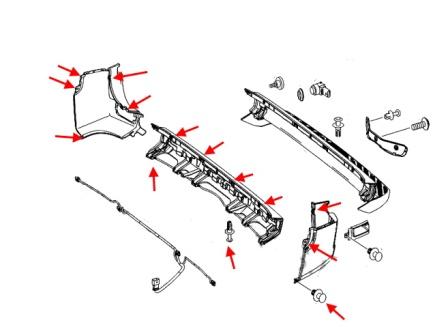
-wheel arches Unscrew one screw on each side and remove the lining of the wings (hold on clips).
-for pads take out the rivets that secure the edge of the bumper.
-open rear door.
-in the opening of the trunk, Unscrew the screws.
-Unscrew the screws (take out the caps) around the perimeter of the bottom.
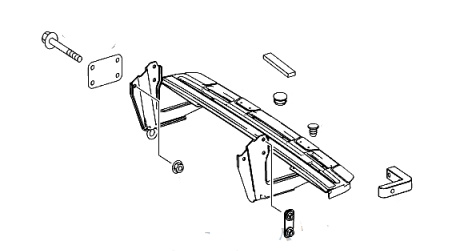
-with the assistant pulls the bumper backwards (look for wires).
-snap together the connectors of electrical equipment.


 English
  Italiano
  Français
  русский
  Deutsch
  Español